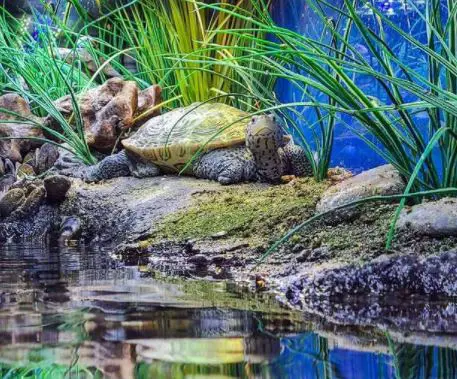
How to decorate a turtle tank?
Turtles can range in a variety of sizes, shapes, and colors. However, there are some decorating tricks that will work for all the turtles out there. In this post, we’ll be going over how to decorate your turtle tank using either live plants or artificial ones.
This is a DIY turtle tank guide for those who want to decorate their turtle tank and give their pet an environment that suits them well!
Related Posts:
- Top 5 Turtle Substrate for Your Pet Tank
- How to Make UV Light for Turtles?
- Do Turtles Need Light 24 Hours a Day?
- Can Turtles Live in a Fish Tank Filled With Water?
- Can Turtles Eat Spider Plants?
How to Decorate My Turtle Tank?
How to decorate a turtle tank?
A turtle tank is the home of your pet turtle. It is important to make it nice and attractive to make you and them happy. You can decorate your turtle tank with aquarium ornaments, live plants, gravel, etc.
Your imagination has no limits in decorating a turtle tank!
1. Create Caves Using Artificial Rocks
Artificial rocks are perfect for creating caves and shelters. Do not pile them up so much so there would be too little land for walking. To create a natural-looking habitat, try stacking large rocks upon each other that have similar colors and shape textures.
The key here is balance and harmony if you want a good-looking turtle habitat. This will also prevent possible ‘rock collapse.’ Be aware that when stacking rocks together, the point where they meet will be a very weak spot and prone to breaking.
2. Create a Natural Habitat With Live Plants
Live plants in a turtle tank create a natural-looking habitat for your pet turtle. They also add oxygen to the water and absorb some of the turtle’s waste products.
Be careful when buying live plants to decorate a turtle tank, though! There are aquatic plants that can survive underwater and there are terrestrial plants that do not tolerate being submerged too long.
In addition to that, if you have an aquarium lamp over your tank, don’t use it 24/7!
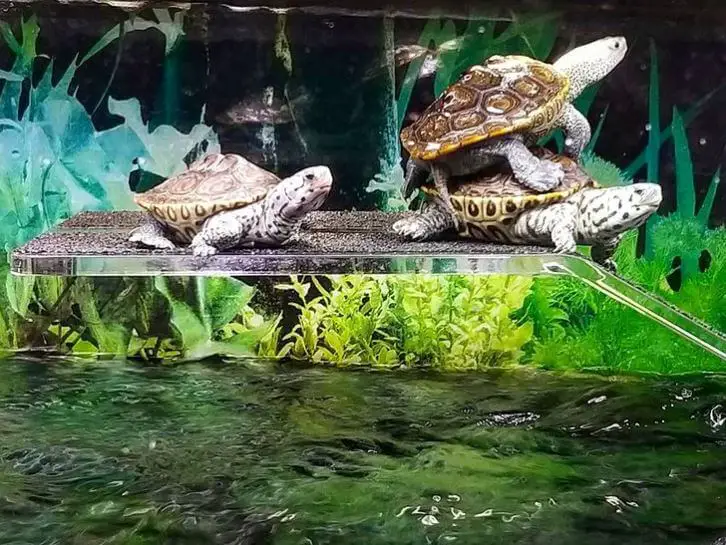
Turtles need daylight, too. Place them near a window or out-of-the-aquarium lamp.
The light should be bright enough to let your turtle see things clearly, but not too bright for it to dry out the aquatic plants. If you grow some kind of terrestrial plant on land, make sure there’s enough humidity and moisture in the tank.
3. Add a Waterfall
A little waterfall sounds relaxing and looks pretty… until the pump breaks down!
The good thing is that a waterfall automatically hides a turtle tank filter from view — an unsightly piece of equipment most people want to be hidden away with all their might.
Make sure that however nice-looking your waterfall is, it doesn’t cause any safety problems inside or outside of the aquarium.
Stay away from fish netting when decorating your turtle habitat with live aquatic plants! Turtles’ claws can get caught in nets and tear up their shells.
4. Put Rocks and Gravel in the Tank
Rocks and gravel are a must for all aquariums. Try to use the same color of them as you have in your turtle tank.
If you want a natural-looking habitat, it may look good if you pile up stones of different shapes together. Just don’t make a mountain out of a molehill!
One idea is to place larger rocks along with gravel on the ground and add some sand on top of them.
This way, your turtles will be able to dig their channel in the sand when they want. It also creates more space but gravel stays underwater for at least two inches while sand doesn’t.
5. Add Decorations the Turtles Like
Don’t forget about decorations that make your pet happy and decorate the turtle tank in a special way. If you want to go for something like that, always think about what your pet turtle likes best and try to use that in the decoration of the aquarium.
For example, if your turtle loves basking on a rock, then make sure there is one inside the tank!
How to Make a DIY Turtle Tank?
If you want to decorate a turtle tank at home, here is how! Here is a DIY turtle tank guide!
Turtles are known for their legless hard shells that are made of bone. They are cold-blooded reptiles, which means they need to be able to get heat from the sun in order to get enough energy so they can survive and grow.
Turtles do very well with their own personal indoor habitats, but not every pet owner is willing or able to provide one. Here’s a list of materials you’ll need and how to create a suitable home:
- Stone, brick, or tiles (for the base)
- Gravel
- Sand
- A container
- Water plants
- Rocks and pebbles
- Shallow bowl
- Sponge
- Kitchen towel
A stone, brick, or tiles are used for the base of the tank. You can decorate it with gravel, sand, and plants. With a shallow bowl, you can provide water habitats that imitate their natural environment.
1 turtle habitat is enough for one snapping turtle or snapping turtle hatchling. Snapping turtles grow to about 4 inches long (10 cm), which means they will need more space as they get older.
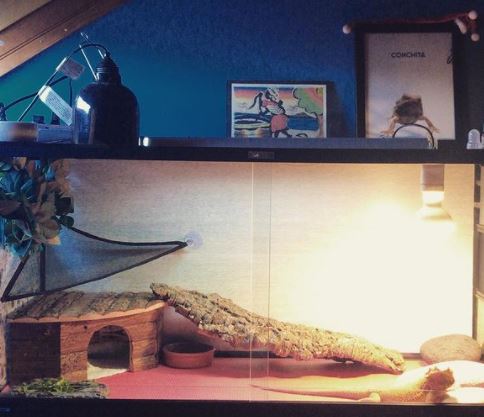
Can You Use an Aquarium as Turtle Tank?
You can use an aquarium for this project, but if you don’t want to buy one, consider using a plastic storage box instead because you’ll be able to access your pet easier without having to open the lid every time.
Try not to put any decorations on the lid because turtles may try to climb them and fall off the lid.
Can You Use a Trashcan as Turtle Tank?
You can use a trashcan instead if you want but you need more space for this larger container if you want to keep it indoors.
However, the advantage is that the bottom will be more stable and that there’s no risk of turtles climbing up on the lid and falling off.
It’s also easier to clean because there are no decorations on it. Just remember that you’ll need some type of secure lid so your turtles don’t escape.
What Substrate Should You Use? Sand or Gravel?
Snapping turtles do well with sand as a substrate. Their shells aren’t as sensitive as other types of turtle shells, so sand won’t irritate their skin.
They also like to dig in the sand, so it’s good for them to bury their food and they do well when using it as a toilet.
You can use gravel instead if you prefer but keep in mind that snapping turtles will try to throw it around with their noses and front feet.
If there’s no substrate at all, this may irritate your turtle and cause damage to its eyes and shell.
How Deep Should the Turtle Tank Water Be?
The water level should be just low enough so that your turtle won’t drown when swimming underwater.
Snapping turtles need shallow pools of water because they prefer staying on land rather than spending most of their time underwater like other types of turtles.
Make sure there are rocks where they can climb out. It’s important to provide them with a land area so they can relax and bask in the sun.
How to Design a Turtle Tank?
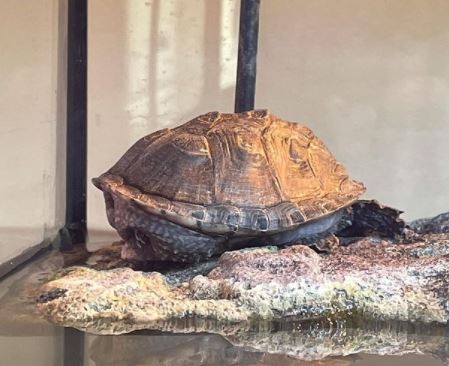
Here is a great example of an all-green turtle aquarium.
I would say this particular setup has everything that you could want in a turtle tank, ranging from a large basking area with elevated rock work to allow your turtles easy access and the addition of small furniture such as plant pots and even a couple of plastic plants and logs for hiding and exploring.
It really doesn’t get much better than this!
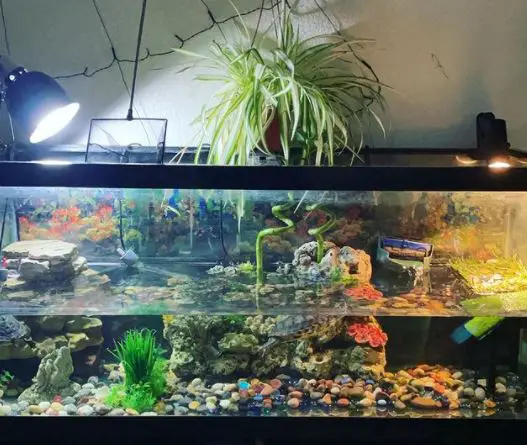
This is another complete custom-made turtle enclosure that provides both land and water areas for its inhabitants (3 red-eared sliders).
The base on which the table sits appears flexible enough to accommodate flooding if required but flexibility also allows some adjustment should the turtles decide they need more or less water in their tank.
The wooded area in the water is a great addition just for them to explore and relax.
What Turtle Tank Accessories Can You Use?
There are many different turtle tank accessories that can be purchased at pet stores to decorate a turtle tank. However, not all of these will actually benefit your turtle.
Outlined below is a list of the most common items along with their benefits or drawbacks. Make sure you read this before using anything to decorate your turtle tank!
1. Filters
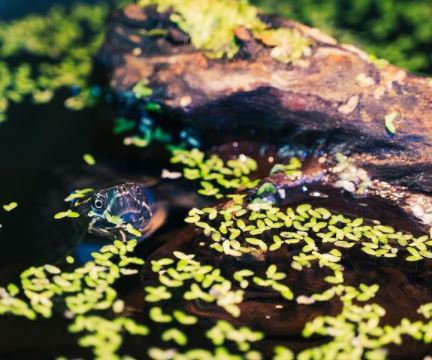
Good filters are very important for turtles because they constantly produce waste, which can quickly lead to water contamination if good filtration methods are not used.
The best type of filter for turtles is an under-gravel style filter system because it does not produce large amounts of surface agitation (which can frighten some aquatic species) and it also has beneficial bacteria that will help break down waste.
This type of filter also has no moving parts, which turtles can destroy.
The downside to under gravel filters is that you have to use an air-powered sponge or box filters in the uplift tubes if you want any water movement.
Aquarium-safe ceramic corner filters are another option for filtration but they produce a lot of surface agitation and are hard to clean effectively because the sponges tear apart easily.
Canister filters are okay as long as you purchase one with at least a 25%/75% (the first number is how much water the filter draws out, the second how much it returns) turnover rate daily.
If you choose to use an under-gravel filter system, be sure your tank is at least 30 gallons and that you purchase an additional powerhead or airstone for water movement.
Do not use under-gravel filters with turtles that have a strong surface feeding habit such as those in the genus Terrapene, which includes all North American box turtles and cooters (with the exception of one species).
These types of turtles will uproot any plants near their filter intake and can injure themselves on uplift tubes protruding from the tank bottom.
What Filters Should You Avoid?
- Canister filters – These should never be used with turtles because many models produce large amounts of surface agitation, which is bad for aquatic species.
- Box filters – Some box filter models produce too much surface agitation even when they are turned off.
- Powerheads – These produce a lot of surface turbulence and are best avoided for turtles.
2. Heaters
Turtles require warm water so they can live, but it is important to use a good heater because a poor quality one can easily break and cause injury to your turtle.
The best type of heater for turtle tanks has an adjustable thermostat that goes from 70-90 degrees Fahrenheit.
If you do not want or cannot afford a heater with this kind of range, then choose one with just the 80-degree setting, which is what most aquatic turtles will need in most American climates.
In addition, every heater should have a way to monitor its internal temperature such as a thermometer or preferably an external probe sensor that monitors the water temperature.
It is also important to use a “glass” heater, which is significantly safer than plastic heaters.
Never use an unscreened submersible-style heater with turtles because they have been involved in many cases of pet turtle electrocutions and these should never be used by anyone who has access to the tank where the turtle will live.
What Heaters Should You Not Use?
Heaters that do not have adjustable thermostats or thermometers (such as most hourly and 5-gallon clip-on style heaters). These heaters can be deadly if turned up too high and cannot easily be monitored for overheating.

3. Thermometers
It is best to get digital thermometers that read both air and water temperatures because they are easier to read and more accurate than glass or mercury thermometers.
If your preferred brand of heater does not come with an external temperature probe, then purchase an aquarium heater probe sensor, which probes the water directly for maximum accuracy.
Do NOT use pet store-bought “stick-on” aquarium thermometers.
They are notoriously inaccurate and many models actually use a formaldehyde solution that can poison your turtle if it is spilled onto the skin or ingested!
4. Heating Pads
These heaters are not very precise and can be dangerous if they are used in an aquarium where the captive turtle has access to it. In addition, heating pads get very hot and can cause serious burns if a turtle climbs onto one or even accidentally falls against it!
If you have a sick or injured turtle that needs a heated enclosure, then use heavy towels soaked in lukewarm water instead of a heating pad because these will provide warmth without the risk of injury from burns.
Make sure you only buy heaters from a reputable reptile supply dealer, especially when getting heaters from online sources.
Pet store heaters should only be used as temporary emergency backups to a well-functioning primary heating system such as a properly sized and calibrated reptile heater.
5. Lighting
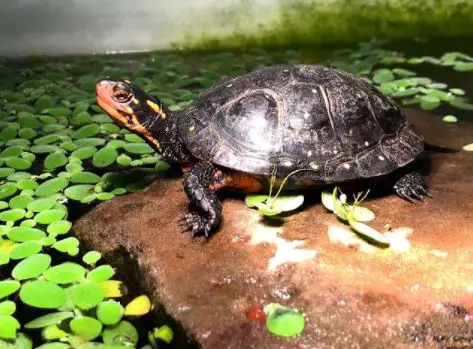
Be sure to get a tank with a fluorescent light fixture so there is ample lighting for your pet turtle’s well-being.
Also, always remember that aquatic turtles require UVA and UVB bulbs, which should be replaced every 6 months if the light is kept on 24 hours a day or every 12 months if it is only being used for 12 hours a day.
6. Substrate
Use reptile carpet, paper towels, non-adhesive shelf liner (the kind with the micro-scaled plastic pebbles on one side), or newspaper instead of gravel and other hard-surfaced substrates for easy cleanup and to protect your turtle from any hazardous material ingestion.
Do not use black and white newspaper unless you put full sheets down so that your turtles cannot see the words through the substrate.
Some people have had success using “turkey grit,” which is very small-grade sand, but I do not recommend it because even though it does not pose a swallowing hazard, it still sticks to the insides of turtles.
It can cause health problems such as internal blockage due to impaction.
7. Toys, Decorations, and Water Quality
A basking spot should be provided with a smooth rock or large river stone where your pet can climb out and dry off if desired.
It is also important to provide water-quality hiding places in your aquarium (such as driftwood, PVC tubing, and ceramic flower pots) so that your turtle has an area where they feel safe and secure when they are not swimming around.
Put only non-toxic plants in the tank, such as Indian Fern, Java Fern, Anubias, Java Moss, or Amazon Sword plants.
Do not buy plastic aquarium decorations unless they are specifically marketed for aquatic turtles. Turtles often become trapped in them and die!
Avoid using gravel, crushed coral, seashells, or any other materials that can be accidentally ingested due to their small size.
This is especially true of painted wood, which may lead to internal problems with your turtle’s digestive system because even paints labeled “safe for children” can contain hazardous chemicals such as heavy metals.
Larger water changes are necessary if you are maintaining a high-quality biofilter in the tank because these will remove toxins from the water more quickly than filtration alone ever could.
A good rule of thumb is to do 50% weekly water changes on all tanks where turtles are kept. An even better rule of thumb is to do weekly water changes on all tanks regardless of the type of turtle you keep.
This lessens the load on biofilters and reduces the risk that harmful chemicals build up in substrates or that infectious bacteria and parasites develop in them.
It also keeps your turtles from being exposed to sudden changes in the water chemistry, which can be stressful and lead to illness!
7. Algae
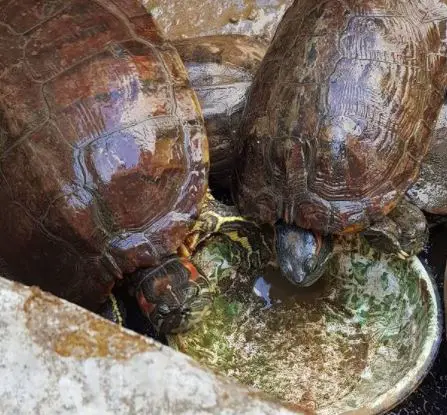
While not really a “toy,” algae provide good hiding places for your turtle, so be sure to add it if you want a more natural-looking aquarium rather than something with all fake plants.
8. Humidity
Turtles need both fresh air and water so they cannot be maintained in an aquarium without proper filtration.
Also, they cannot be kept in water with less than 1% salinity (which is one gram of salt per gallon of water) because any more concentrated than that can irritate or burn their skin and eyes.
Turtles breathe through their lungs, so the substrate should always be above the water level to allow them to do this properly.
Never place your turtle’s tank under direct sunlight. Turtles are natural swamp creatures and need high humidity levels to feel comfortable.
Because most aquariums allow for little free airflow around the tank, it is important that you check your pet daily for any signs of respiratory problems such as gaping, hissing, wheezing, clicking, or other symptoms that indicate a problem might exist!
How to Make a Turtle Basking Platform?
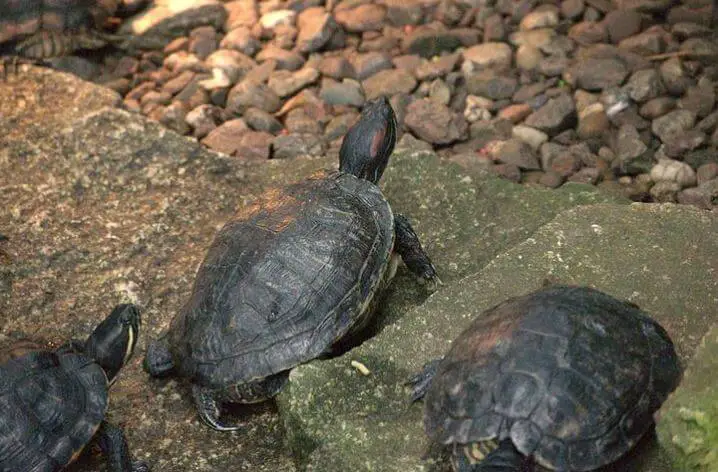
Since they are aquatic turtles, it is important to have a place for them to come out of the water. You need at least one spot where your turtle can climb up and dry off.
This basking site also provides your turtle with a chance to warm itself after swimming in the cool water of its tank. We use rocks that we find on our lakeshore or buy at Home Depot (river rock size).
If you choose river rocks, make sure they are not treated with any chemicals as they may harm your turtle!
Adding some driftwood is always nice but make sure it’s natural driftwood. Dried man-made lumbers could release harmful chemicals into your tank, which can make your turtle sick or even kill him/her!
You can make a simple one by taking a natural wood platform (oak limb) from the outside. Then you take two pieces of driftwood, cut to fit above the tank’s water line, and attach them at both ends with cable ties or zip ties.
Another good idea is to use PVC pipe, available from hardware stores in various diameters that enable easy height adjustment according to your needs!
The optimal minimum width should be around 30cm/12 inches so it’s wide enough for larger turtles but small enough so the turtle doesn’t climb off and escape through an open door or window in your house!
After choosing the size, you can use a drill to make holes for the cable ties/zip ties all around the platform, then you push them through and tighten them up!
It’s important that the turtle has enough room to easily get on and off this basking dock, so it should be 10 or 15 cm/4-6 inches above water level.
Turtle Basking Platform for a 75-gallon Tank
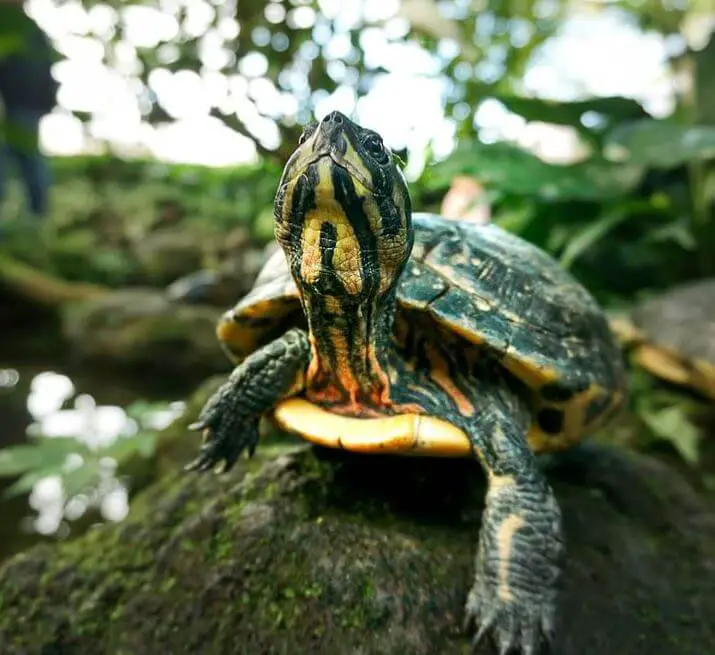
For sale is a custom-made turtle basking platform. This is for an up-right 75-gallon tanning bed tank.
It has three raised areas of different sizes perfect for the various-sized turtles I have had during my time as a turtle breeder.
The largest section can easily accommodate two adult red-eared sliders, while the smallest section is great for babies, or new hatchlings until they are large enough to handle being out with the adults.
It also includes two steps that allow it to be supported at whatever height works best for you and your situation.
You could even lower it into the water if you wanted to use it as just another basking area on your sand/substrate instead of on top of your glass tank.
All-in-one design means it is a space saver and a time saver when cleaning the tank!
I do not have a picture of this on top of an actual tanning bed tank because my camera was not working at that moment, but I will update ASAP soon as possible with a picture of it on top of one.
Plexiglass Turtle Basking Platform
Plexiglass turtle basking is not as common as those made from other materials, but they do exist. A homemade Plexiglas basking platform can be a great aid for you and your turtle if he or she has trouble reaching the surface of the water to bask.
The following is a step-by-step guide on how to build such a platform:
1. Measure the dimensions of your basking area. You will need these dimensions for Step 3 where you cut the Plexiglass. Keep in mind that this plastic sheeting cuts easily with an XACTO knife, so take it slow and be careful!
I didn’t have measurements for my panel, so I took two bricks (10″ x 5″) and placed them inside my tank at either end of where I wanted the panel to be. Then I traced around them with a marker.
2. Cut the sheet of Plexiglass using an XACTO knife or whatever type of cutting implement is appropriate for your situation. The edge is not too smooth when it’s cut, so round off the corners so you don’t injure yourself on them later when cleaning your tank.
If you have questions about what tool to use, ask in the comments section here and I or someone will give advice on alternative measures you can take. But be warned that cutting Plexiglass requires knowledge of how to do it safely!
When sawing, try placing masking tape on both sides of where you’re going to cut because it’s slippery stuff, and trying to saw through it without the tape is difficult.
3. Now that you have your sheet cut, find some way to hold it in place over the basking area of your tank.
I hope you have some sort of aquarium stand because if not all this work will be for nothing!
You can’t attach it directly to the glass, so you’ll need to fashion a new surface on which it can rest while still being elevated enough for your turtle to bask under it.
If you are creative enough, there are many ways to do this, but please ensure that whatever method you use is safe and secure.
A couple of bricks or rocks might serve as an alternative while getting something more permanent arranged for mounting purposes.
Some people have found creative ways to attach Plexiglass sheets with suction cups. If you’re the hands-on type and know what you’re doing, this might be an option for you.
But I’m not going into detail on that because it is a bit risky if your suction cups fail and a lot of work to get it done properly compared to other methods.
4. Place your sheet in position over the basking area and walk away! In about 24 hours, most turtles will have managed to climb up onto their new basking surface even if they couldn’t manage before.
Or, as was the case with my little guy, he immediately went exploring underneath “his” rock and has been very pleased with his new addition!
You can also build your platform in such a way that it provides the turtle with an elevated basking area and a low submerged area where he or she can get underwater to eat.
To achieve this you would use only half the sheet for the top and cut windows into the other half so that it could form part of your waterfall or filter intake.
Just thought I’d mention that option in case anyone was interested.
Conclusion
How to decorate a turtle tank?
It is a good idea to make sure that your turtle tank has a variety of different decorations in it. You can add plants, rocks, and other items for decoration.
Make sure you have at least one hiding spot. These are often caves or tunnels made out of rocks or driftwood with some water inside them.
A basking area should also be provided so that they can warm up if needed during their daytime hours when they’re not eating or sleeping.
Be careful about getting too many fake plants as these could cause problems with humidity levels and lead to mold growth over time, which will kill your turtles!
Key points to consider when decorating a turtle tank:
Decorating a turtle tank not only makes it visually appealing but also provides enrichment for your aquatic friend. Here’s a guide to help you create an engaging and comfortable habitat for your turtle:
1. Selecting Decorations:
- Rocks and Boulders: Natural rocks or boulders provide basking spots and underwater hideaways for turtles. Ensure they are smooth, clean, and securely placed.
- Plants: Live or artificial aquatic plants offer shelter, oxygenation, and aesthetic appeal. Turtles may also nibble on live plants, so choose turtle-safe species.
- Driftwood: Submerged driftwood provides climbing opportunities and hiding spots. Make sure it’s free from harmful residues and anchored securely.
- Cave Structures: Turtle caves or tunnels can serve as shelter and add complexity to the environment. Ensure they’re free of sharp edges or protruding parts.
- Sand or Gravel: Some turtles enjoy digging, so adding a sandy or gravel substrate in certain areas can be stimulating.
2. Basking Area:
- Basking Platform: Install a basking platform, such as a floating dock or log, to allow your turtle to climb out of the water and dry off under a heat lamp.
- Heat Lamp: Place a heat lamp above the basking area to provide the necessary warmth for your turtle to regulate its body temperature.
3. Water Filtration and Quality:
- Filter System: A quality filtration system is essential to maintain clean and clear water. Choose a filter appropriate for the size of your tank and the number of turtles.
- Water Parameters: Regularly monitor and maintain appropriate water parameters, including temperature, pH, and water hardness.
4. Lighting:
- UVB Lighting: Turtles need access to UVB light for calcium metabolism. Use a UVB lamp designed for reptiles, and ensure it covers the basking area.
5. Substrate:
- Substrate Selection: Choose a substrate that suits your turtle species. For aquatic turtles, sand or gravel can be used. Ensure it’s clean, free from sharp objects, and easy to clean.
6. Feeding Area:
- Feeding Platform: Designate a specific area for feeding to prevent food particles from scattering throughout the tank.
7. Safety Considerations:
- Safe Decor: Ensure all decorations are free from sharp edges, toxic materials, or small parts that could be ingested by your turtle.
- Anchor Decorations: Use aquarium-safe silicone or suction cups to secure decorations and prevent them from shifting or toppling over.
8. Maintenance:
- Regular Cleaning: Regularly clean the tank and decorations to prevent the buildup of algae and bacteria. Rinse or scrub ornaments as needed.
- Substrate Maintenance: If you use sand or gravel, stir it occasionally to prevent anaerobic pockets from forming.
9. Enrichment:
- Variety: Change the tank’s layout or decorations periodically to provide novelty and stimulation for your turtle.
10. Monitor Behavior:
- Observe your turtle’s behavior to ensure it’s comfortable with the decorations and habitat layout. Make adjustments as needed.
Decorating your turtle tank adds interest and complexity to your pet’s environment, promoting their physical and mental well-being. By selecting the right decorations, maintaining a clean and safe habitat, and providing a basking area and proper lighting, you’ll create a comfortable and engaging home for your aquatic friend. Always prioritize safety, cleanliness, and the specific needs of your turtle species when decorating their tank.
Further Reading:
- 7 Best Plants for Turtle Tank
- 5 Best Turtle Basking Platforms
- Can I Use a Fish Water Conditioner for Turtles?
- Can You Put Fake Plants in a Turtle Tank?
- Can I Keep My Turtle Tank Outside?

